


Creating the Ultimate Tor Virtual Network
Although the methods in this article can be used for proper anonymity outside of the tor browser, the main focus is creating a secure tor based research environment. As most security researchers know there’s always a big decision with analyzing malware or exploits in a VM, most people would prefer to reverse in an offline environment, but if you’re monitoring C&C communications or a live exploit kit, this isn’t viable. Do you use your real IP? Do you use 3rd party software such as proxifier to try and force everything through tor, hoping no software leaks your IP to the bad guys? Do you even run your entire system through a VPN while you reverse and have to reconnect all your software afterwards? Well, the solution I came up with was to create a transparent Tor proxy using a separate VM to act as a router, the virtual machine(s) used for research will then pass all traffic through Tor (with zero configuration or software, and without even being aware the proxy exists). Although the router will take about 15 minutes to set up, you can pass unlimited VMs through Tor with no extra configuration!
Here’s an example of how easy it is to connect a brand new VM through tor using my setup (no proxy settings have been touched).
Router Installation
VM Requirements: Ram – At least 200 MB Disk – At least 500 MB
For the router I’ve chosen pfSense, a light, open-source FreeBSD based firewall/router. You can download the latest version from the official site. Although I will be using VMware Workstation, the tutorial should work on most VM software.
- Create a new VM how you normally would using the pfSense ISO (but don’t power it on yet).
- Go into the VM settings and set the network adapter to use whichever settings you’d normally use to connect to the internet (this is usually “NAT”).
- Click the “LAN segments…” button and add a new LAN segment.
- Click the “Add…” button and add a new network adapter (just leave the default settings and click finish).
- Set the new adapter to use the LAN segment you created, leaving the other adapter how it is.

Now you can power on the VM. After a few seconds you should be met with the below screen, just press 1 and wait for the next screen.

The next screen will give you the option to invoke the installer by pressing “I”, you should do this. If you don’t select an option within 10 seconds, the boot will continue and you’ll need to restart and try again.

In the installer you can just click “Accept these Settings”, followed by “Quick/Easy Install” then “Ok”. The next prompt will ask you to install the kernel, select “Standard Kernel”, wait for that to finish and allow the system to reboot (make sure to remove the CD before the VM starts back up to avoid any issues).
If everything went well, you will reach the welcome screen. At the top it should give information for the WAN and LAN adapter. WAN should be em0, which is the adapter you set to connect to the internet, whilst LAN should be em1, which is the adapter connected to the LAN segment. The IP address of the WAN adapter should correspond to an IP on the same subnet as your host computer’s vmware adapter (usually “VMware Network Adapter VMnet8”). The LAN IP doesn’t matter, as long as it’s not on the same subnet as the WAN one.
 By default the router’s web control panel isn’t accessible from the WAN for security reasons, so in order to access it you need to power up another virtual machine (preferably one you intent to connect through tor), and set the virtual network adapter to connect to the LAN segment you set up for the router. Now you just need to open a browser and navigate to the LAN IP of your pfSense router (192.168.1.1 in my case) and you should be met with the following screen (login information is admin:pfsense).
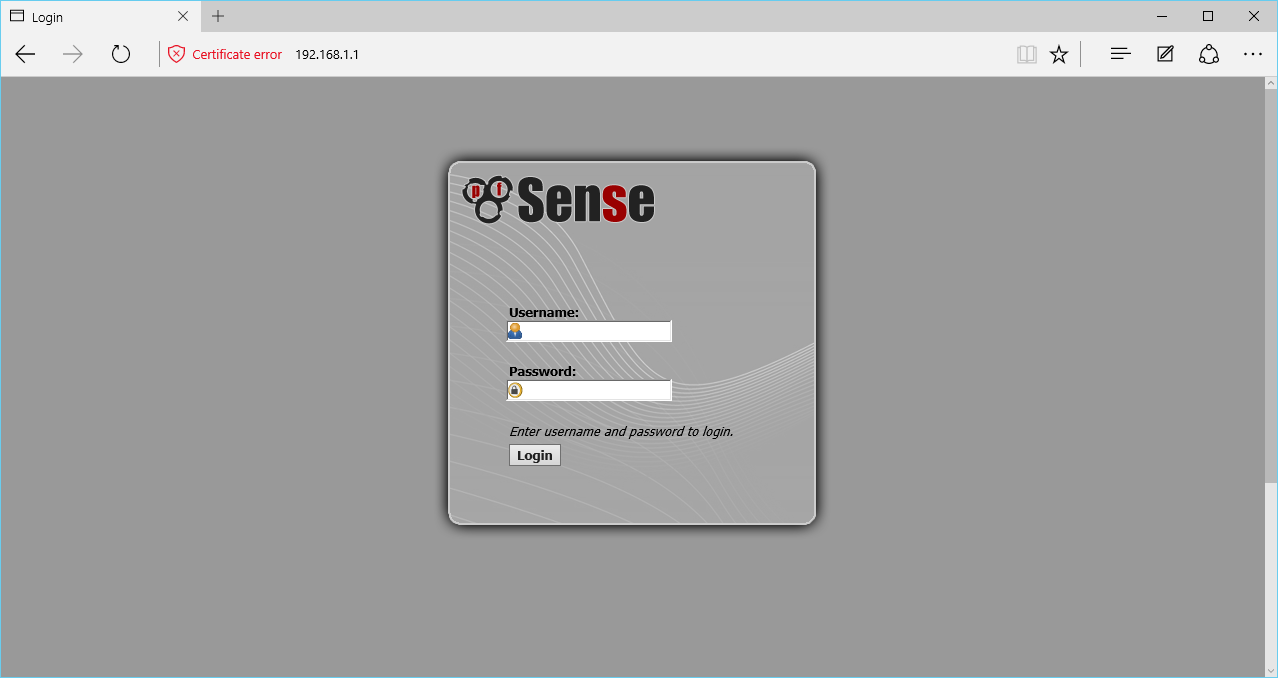 You can skip through the setup wizard, change the login information at the end then go to the main configuration page. You’ll need to go to “Services > DNS Resolver” then uncheck “Enable DNS Resolver” and save settings (we’ll use tor as our DNS resolver, allowing the system to also access .onion domains).
Tor Installation
You can either do this directly via the pfSense console (press 8 to drop into the shell), or you go into the configuration panel on your client VM and enable SSH by going to “System > Advanced”, then checking the “Enable Secure Shell” checkbox, then clicking “Ok”.
If you choose to use the SSH option, putty will have to be used from inside the client VM (The IP is the same as the control panel IP and the login information is the same as the admin panel).
Once in shell we can install tor:
- pkg install tor
- rm -rf /usr/local/etc/tor/torrc
Open “/usr/local/etc/tor/torrc” and edit then save the following config:
DNSPort 53
DNSListenAddress YOUR_PFSENSE_LAN_IP_HERE
VirtualAddrNetworkIPv4 10.192.0.0/11
AutomapHostsOnResolve 1
RunAsDaemon 1
TransPort 9040
Now we can add tor to start at boot and run it:
- touch /usr/local/etc/rc.d/tor.sh
- cd /usr/local/etc/rc.d/
- echo “/usr/local/bin/tor” >> tor.sh && chmod +x tor.sh
- /usr/local/bin/tor
Firewall Setup
Now we need to set up the rules to proxy through tor; unfortunately you can’t forward the entire port range so it’s better to just add a port forwarding rule for each of the major ports (HTTP, HTTPS, IRC, etc), then any traffic not matching the rule can be blocked.
First we need to go to “Firewall > Nat > Port Forwarding” and add a rule for each TCP port or port range we want to forward through tor (you can just add HTTP and HTTPS ports, then add more later).
The rule is as follows:
- Interface: LAN (Traffic from VMs)
- Protocol: TCP
- Source: Any (All devices on the LAN)
- Destination: not LAN net (Ignore traffic between VMs or the VMs and pfSense router)
- Destination port range: from 80 to 80 (HTTP)
- Redirect Target IP: 127.0.0.1 (The pfSense router)
- Redirect target port: 9040 (The transparent proxy port we set in tor config)
- Description: Doesn’t matter, put what you want.
Repeat the above rule for each destination port/port range you want to pass through tor (443 for HTTPS, 22 for SSH, etc), you cannot forward the entire range (1 to 65535), but you can forward most. It should be noted that tor doesn’t support UDP, so you’ll either have to not forward UDP traffic or use your real IP.
Now go to “Firewall > Rules > LAN” and delete both the IPv4 and IPv6 rule with the description “default allow LAN IPv4/6 to Any”.

Deleting the following rules will block all traffic that doesn’t follow the port forward rules (isn’t passed through tor), this means we will need to create a rule allowing allow DNS requests to the pfSense server. In “Firewall > Rules > LAN” create a new rule with the following settings:
- Action: Pass (Allow traffic matching this rule)
- Interface: LAN (Traffic from VMs)
- TCP/IP: Version: IPv4
- Protocol: TCP/UDP (DNS can be both)
- Source: LAN net (From VMs)
- Destination: (type): Single host or alias
- Destination (address): The LAN ip of your pfSense router.
- Destination port range: from 53 to 53
- Description: Allow DNS
If you want to allow traffic between VMs connected to the router, add the following rule:
- Action: Pass (Allow traffic matching this rule)
- Interface: LAN (Traffic from VMs)
- TCP/IP: Version: IPv4
- Protocol: TCP/UDP
- Source: LAN net (From VMs)
- Destination: LAN net (To VMs)
- Destination port range: from Any to Any
- Description: Allow VM Communication
You’re all done! you should be able to check your IP using dnsleaktest.com and it should not be able to detect your DNS (the STUN exploit will also not work, even if you enable WebRTC).

